Tuesday, August 28, 2007

Update on Craft Room

I forgot to post an update on the craft room! Gah!

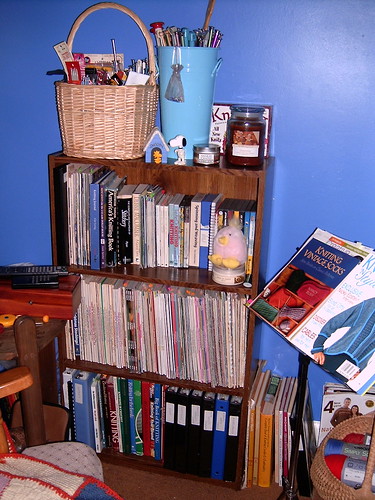
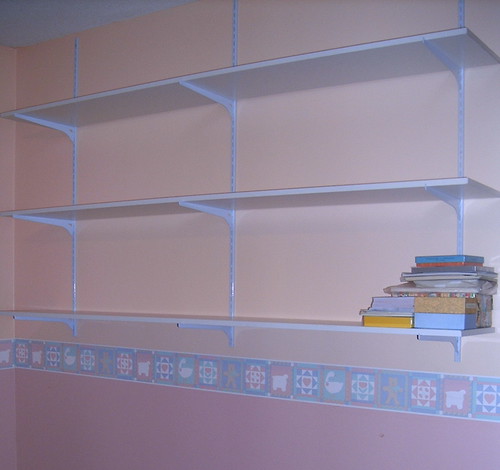
Here is the shelving we installed on the wall. Do ya like it?
Shelving in My New Craft Room

I started putting some things on the shelves right away. The yellow and black boxes are full of sewing patterns. I think I'm going to cover them with contact paper to make them look nicer.
Shelving Getting Full!

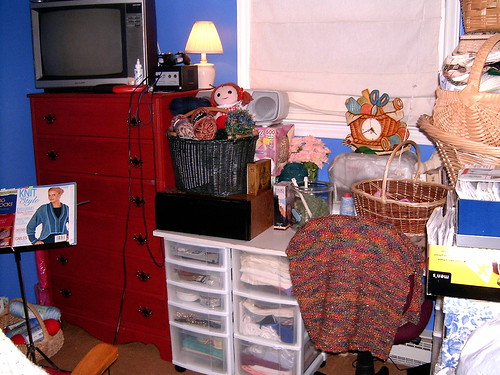
And here's a view behind the entry door to the craft room. I keep my ironing board there, so it's convenient for sewing. Also, I'm keeping the laundry sorter in this room too, because it's an easy place near our bedroom and bathroom. We sort our laundry as soon as it gets dirty. Then, when a bag is full, I take it down the hall to the laundry room. I love that sorter!
Iron and Laundry Area

Update on Knitting

For the past two days, I've been busy adding photos of my yarn, and info about knitting projects and knitting books and knitting needles on Ravelry. It's been exhausting, but fun! I'm really loving that website. I can see that it will be a big help for my knitting projects.

So far, because of Ravelry, I've discovered how many duplicate sets of knitting needles I have, and what a HUGE stash of yarn I have. I've also trimmed down my knitting projects to a more feasible number. It was impossible for me to work on that many projects at once, so I frogged some of them until a later date.

So, Ravelry has been good for me. :)

Here are a few of the knitting projects I'm still working on:

A "Hush-a-Bye" Baby Blanket, using two different colors of Bernat Baby Coordinates:
Hush A Bye Baby Afghan

A "Midnight Shawl", so named because of the dark, magical colors of yarn I'm using.
Midnight Shawl

And I've gotten a bit further along with the Willa top. I'm not too thrilled with the way the bottom is rolling, though. :P I guess I can make it longer, so it won't be revealing my big 'ole belly.
Willa Longer

Sunday, August 26, 2007

Setting up My New Craft Room!

I'm FINALLY setting up my craft room again! Woo-Hoo!!

Everything is just kinda sitting in there right now, as I get it all organized, but there are a few spots in the room that are finished.

Here are a few photos to give you a sneak peek!

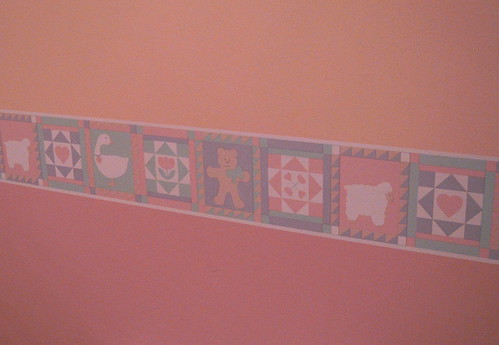
When we finished installing the vinyl floor, I decided to add a wallpaper border on the wall between the pink and peach paint. It has really dressed up the room.
Craft Room Border

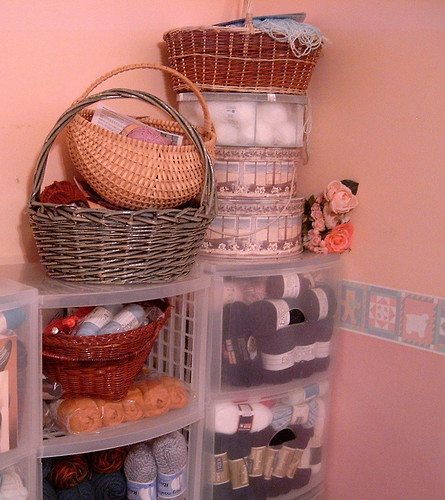
Of course, the first thing I started bringing into the room was my YARN STASH! :P

Here's a small part of it:
Yarn in Craft Room

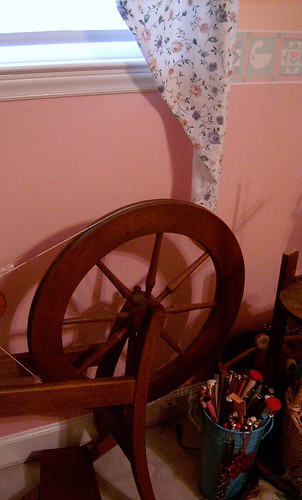
Right now, my spinning wheel is set up by the other window, and looks pretty there. I can't wait to set the wheel spinning again!
Spinning Wheel & Knitting Needles

Here's a basket of fiber, waiting to be spun:
Fiber Ready to Spin

A couple nights ago, I finally got my TV, DVD and Gamecube set up, so I REALLY enjoyed relaxing in my knitting chair and watching Court TV while I worked on a couple knitting projects.
Entertainment in my New Craft Room

I'm LOVING my new craft room. :)

Last night, we went to Lowe's to get ideas on shelving for the opposite wall in the room. We found a good set, so we plan on hanging them today. Wish us luck!

Wednesday, August 22, 2007

The Floor in my Craft Room is FINISHED!

Yahoo!!!! Today we finally finished installing the vinyl tile in the craft room!
I'm so sore and tired, but the floor is BEAUTIFUL!!

I started this morning, sanding down the wood filler that Marvin had put in the nail holes last night. Then, I swept the floor again, and ran a vacuum over it.

Next, I layed some of the tiles on the floor to decide how I wanted to lay it out. I chose to just lay them straight. Originally, I wanted to lay them out diagonally, but when I tried it, it looked too messy. So, straight it was.

I've spent the last week reading online about how to install vinyl floor tiles. They say you should draw a line across the floor from the middle of both walls, to find the exact center of the room. So, I did that. I didn't have a chalk line, so I had to use measuring tape, a straight edge, and a pencil. That took a while.

Next, I started applying tiles in the center of the room, and kept going out toward the walls. I applied one row all the way to each side wall, so I could use them as a guide to keep the others straight.
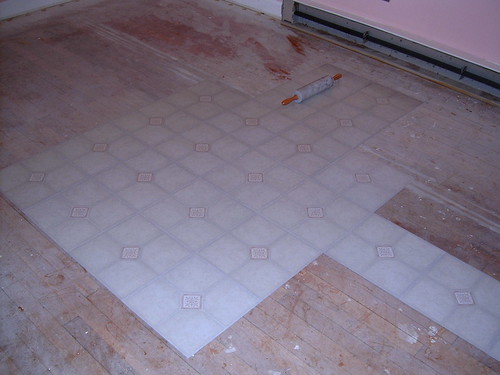
Starting to Put Down Vinyl Tiles

Keeping the Tiles Straight All the Way to the Wall

I started getting the hang of it, and soon the tiles were going down quickly.
A Bit More Done on the Floor

To make the tiles secure on the floor, I rolled each one down with a rolling pin.
Rolling Out a Vinyl Tile Floor

My hubby Marvin had to handle the difficult spots, like where the cable cord came up through the wall:
Marvin Pondering How to Cut Tile Around Cable Cord

Pretty soon, we had a mountain of backing paper in the middle of the room.
Backing Paper From Tiles

But all we had to do was glance at our completed work so far to keep us motivated!
Finally Looking Like a Floor

Now, the floor is complete, and all is right with the world! :)
Wow! A Floor!

What a Difference a Floor Makes

I can't believe how much nicer the room looks now. When it was finished, I laid down in the middle of the floor, and just soaked it all in. It amazes me to realize that just a week ago, this room was filled to the ceiling with boxes of junk, and there was ugly brown carpet on the floor!

This new vinyl tile makes a HUGE difference in the room.

Now, I can start setting up my craft stuff again! Yay! Yarn and Fabric, here I come!
Removing Carpet and Installing Vinyl Tile

Now that the room was almost empty, I "hired" my hubby to remove the carpet. He was a good, fast worker. :) The dust was flying in there, and I think it got a few specks on the camera lens. Ah, the hazards of home remodeling.
Marvin Taking Up the Carpet

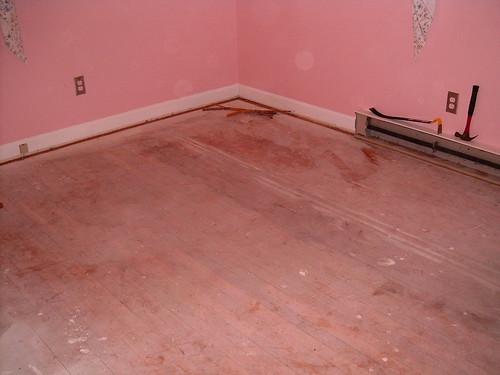
The Floor Looks Awful Under the Carpet

Marvin Rolling Up the Carpet

Carpet All Rolled Up

After all that carpet was finally out the door, I went to work on removing all the staples from the floor, then doing a quick sweep with a broom.
Bare Wood Floor With Staples Removed

The next day (today), I started removing the carpet tacking around the perimeter of the room. What a pain!! I had to hold a crowbar under the edge of the tacking strip, then hammer the end of the crowbar as hard I could until it went in deep enough to pry up the tacking. That stuff was VERY TIGHT. It took about an hour to get it all up, and my arms were ringing from hammering metal on metal like that. Ouch! It was also VERY LOUD....not something you'd want to work on in the middle of the night.
Removing Tacking

Now, I was left with one wall of tacking, behind the furniture on that side of the room, so I left it for my hubby to handle when he got home from work. Since I couldn't do much more, I brought all the tiles into the craft room to let them "rest" and "acclimate" themselves to the room. Whatever.....I'm just doing what the manufacturer recommends.
Letting Tiles Rest in Room

After Marvin got home from work, we moved all the rest of the furniture out of the room, and he removed the rest of the tacking. Then, we had to carry out all that nail-covered wood. Dangerous work! I think I'm gonna ask my step-dad to bring his truck tomorrow to take this stuff to the dump for us. I would hate for our garbage men to get injured by it.

Finally, the room was COMPLETELY empty, so I went to work on sweeping up all the nails and staples, then put on my glasses and did a thorough check to remove any that we missed. I found two more staples and two more nails this way.

Next, I swept the floor again, then mixed up some TSP and hot water in a bucket to damp-mop the floor. That was ANOTHER huge job. Have you ever tried to mop a very old wood floor? The mop did NOT glide at ALL! My arms and legs were killing me after that fiasco.

Finally, I felt like the floor was getting clean. I then asked my hubby to come and put wood filler in all the nail holes. I went behind him and leveled them off with a putty knife. Now, they are drying overnight. I'll probably need to sand them a bit. Then I'll probably have to damp mop the floor again. I won't use TSP with it that time.

Ideally, we should have installed a base of plywood before installing the vinyl tiles, but we just don't have the money. Oh well. I'm not THAT picky, so I can probably live with it this way. If we ever try to sell the house, we can let the buyer know there is an ugly wood floor underneath the tiles. (tee-hee!)

Monday, August 20, 2007

All the Junk is GONE from my Craft Room!

Woo Hoo! Alert the media!

I finally got all the junk out of my craft room. :)

All the Junk is OUT

TV & Entertainment Ctr

Other TV, Chair, Desk

What a job!!! I didn't think it would EVER end!

Now, I have to take up all the old carpet, then remove the tack bar around the edges, then take up all the staples in the floor, then clean the floor.

THEN, I'll finally put down my new vinyl tile!

Sunday, August 19, 2007

Remodeling my Craft Room

I haven't written much lately, because I've been super busy remodeling my craft room.

If you remember, a few years ago, I made my first craft room:
My Dreamy New Craft Room
Another View of My Craft Room

It was a wonderful, dreamy place to be. But, we had a small problem. We were paying 100 dollars a month to store boxes of junk in a storage building. I decided to move to a smaller room of the house, so we could bring all those boxes of junk home, and save a hundred dollars each month.

So, I moved into a smaller room:
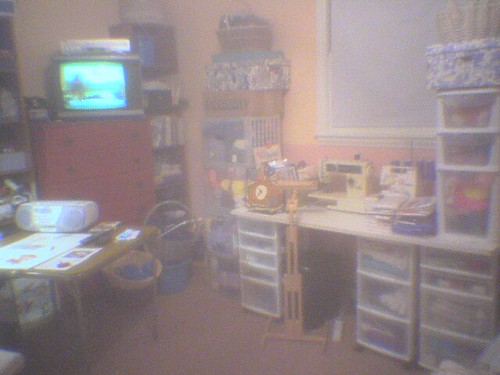
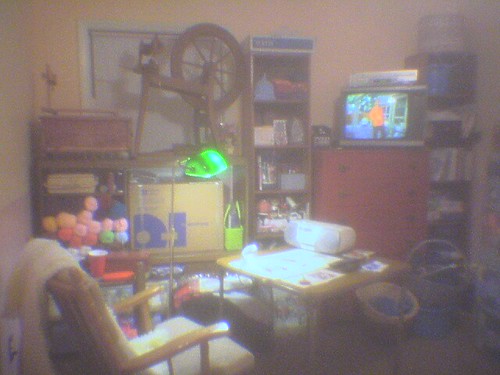
My New Craft Room - the only wall with a window
Bookshelf in My New Craft Room
Craft Room Entrance
Yarn Storage Bins in My Craft Room

Well, I soon realized that there was not enough room for me and all my crafting pursuits in that tiny room. The only thing I had room to do was knit. I had to do my sewing on the kitchen table, and all my spinning in the living room.

So, I decided to let my hubby use the small room as his cave. We painted the walls beige, and he moved in. It is a perfect fit:
Computer and TV in Hubby's Cave
Behind Desk in Hubby's Cave
Marvin watching The Godfather

So now, all my craft stuff had taken over the living room:
Craft Stuff in Living Room

And I had the insurmountable task of going through all the boxes of junk in my future craft room:
Junk in Craft Room

The first thing I did was to make room for my rocking chair, so I could at least knit in there occasionally. Then, I started going through boxes of junk one at a time, taking things to Goodwill, and throwing some things away. I was finally beginning to make the task a bit more manageable. At least the boxes weren't all the way to the ceiling anymore:
Working on Boxes

This past week, I was finally able to see the floor in there again!
I Can See the Floor!

But, my poor hubby is suffering a bit, because we are taking the boxes into his cave to work on them together.
Marvin's Cave is Getting CRAMPED

Today, he helped me get a lot more boxes out, and it looks even better!
Lots of Boxes Gone

I want to go ahead and clear out the room, because I want to take up the carpet, and put down some vinyl floor tiles I found at Lowe's for a good price. I want to lay them down diagonally like this:
Floor Tiles - Option 2

I also found a wallpaper border that I want to put all around the room, where the peach and pink paint meet:
Wall Colors

I wonder if we will EVER finish this project?

Saturday, August 11, 2007

Cottage Yarn Photos

Today, I spent the afternoon at Cottage Yarn in Mint Hill. It was nice. I like that place a lot. I took a few of my knitting projects, and worked on each of them, while sitting in the front room.

While I was there, I asked the owner if she would mind letting me take some photos of the shop, so I could share them with my online friends.

She said, "Sure! Go ahead!"

So, here they all are:
http://www.flickr.com/photos/59646927@N00/sets/72157601379027321/

You can view a slideshow if you prefer:
http://www.flickr.com/photos/59646927@N00/sets/72157601379027321/show/

Friday, August 10, 2007

Mystery Sock Yarn

Today, I received a surprise in my mailbox.

2 skeins of Scheepjes Invicta Extra sock yarn, in shades of grey, silver, and black.

Problem is....I have NO IDEA why they were mailed to me. I didn't win them on eBay, I didn't buy them from anyone else. They are not a color I would normally choose.

Anybody know how I got these?

Mystery Sock Yarn

Thursday, August 9, 2007

As usual....Knitting and Buying Yarn

Just another day in the life of Shandeh.....

Yesterday, I started another Oddball Shawl for the Knitting Help Forum members to work on. We're calling this one the "Magic Shawl". I used size 10 needles, and Lion Brand Moonlight Mohair in the color "Northern Lights".
Magic Shawl

And I can't believe I forgot to mention this soft, silky yarn I found at Michaels the other day, when I was hanging out with lissalue from the forum. It's called "Bernat Satin Sport", and I couldn't keep my hands off of it. So, I picked my favorite color, and bought all 4 skeins that were on display. The color is called "Meadow". I love it!
Bernat Satin Sport

And here is yet more yarn for my never-ending stash. I found these two skeins of Lorna's Laces on eBay for a great price. The color is "Tahoe".
Lornas Laces

Blog Archive

About Me

My photo
I'm a forum moderator and blogger for Spinrite Yarns (www.yarnspirations.com), and I spend WAY too much time there. :D You can also find me on the Knitting Help Forum occasionally